Hello there! I've been busy the past couple of days working on this adorable cake for Olivia's baby shower coming up, and couldn't wait to share it with you:) It features the Sweet Stack Project Kit found in the new catalog, along with the coordinating stamp set Sweet Stack.
The kit comes with this awesome chipboard stand, which is really sturdy and all the components to make 20 cake boxes in 2 different sizes. It also includes these sweet little candles and the scalloped 'frosting' pieces.
The kit also comes with everything you need to make the banner. The kit is really cute on it's own, but I made a few changes, as I always do:) Included in the kit are paper bows and components to make a flower for the center, which I left off. Instead of using the Crushed Curry fringe piece for the center of the flower, I cut it into fourths and made the little tassels instead. I took a 9" piece of Whisper White Baker's Twine and wrapped the fringe border around it, repeating the process on the other end as well. Then I simply tied a bow on each pole after I hung the banner.
You get an alphabet sticker sheet and pennants in 3 colors, which you'll have plenty left over to use for other projects.
As mentioned, I used the coordinating stamp set Sweet Stack to stamp the cake layers in Tip Top Taupe. I also used one of the sentiments from the set for the tag using Watermelon Wonder ink.
I stamped the sprinkles on the backs using Hello Honey ink. I upgraded the bows to the Hello Honey Striped Cotton Ribbon, available in all the returning In Colors. I really love this ribbon by the way. It's really sturdy and makes a beautiful bow. I plan on getting lots of it for wrapping Christmas presents~yes, I'm already thinking about Christmas:) I adhered the bows using a couple of Glue Dots.
I also added a little extra frosting using the Cotton Paper Assortment in Watermelon Wonder. I cut 1" strips, folded them in half and used the Fringe Scissors about an 1/8th of an inch to the fold line. I ran a thin line of Liquid Tombow along the back edge of the box and attached the paper. I just scrunched and fluffed til I got it how I liked it.
After I assembled the candles and while waiting for the glue to dry, I punched out 10 Hello Honey stars using the new Medium Star Punch~about time SU!~thank you! I glued the candle bases to the stars and attached to the cake boxes with Dimensionals. I used the 1/8" Circle Handheld Punch for the tags and used Crushed Curry Baker's Twine to tie around the candles.
This project was so much fun to make! I'm going to make a second one, this time with a yellow cake (Hello Honey) and chocolate sprinkles (Tip Top Taupe) to make sure I have enough for all the guests. And I don't need to worry about table decorations, as these cake centerpieces will have that covered:)
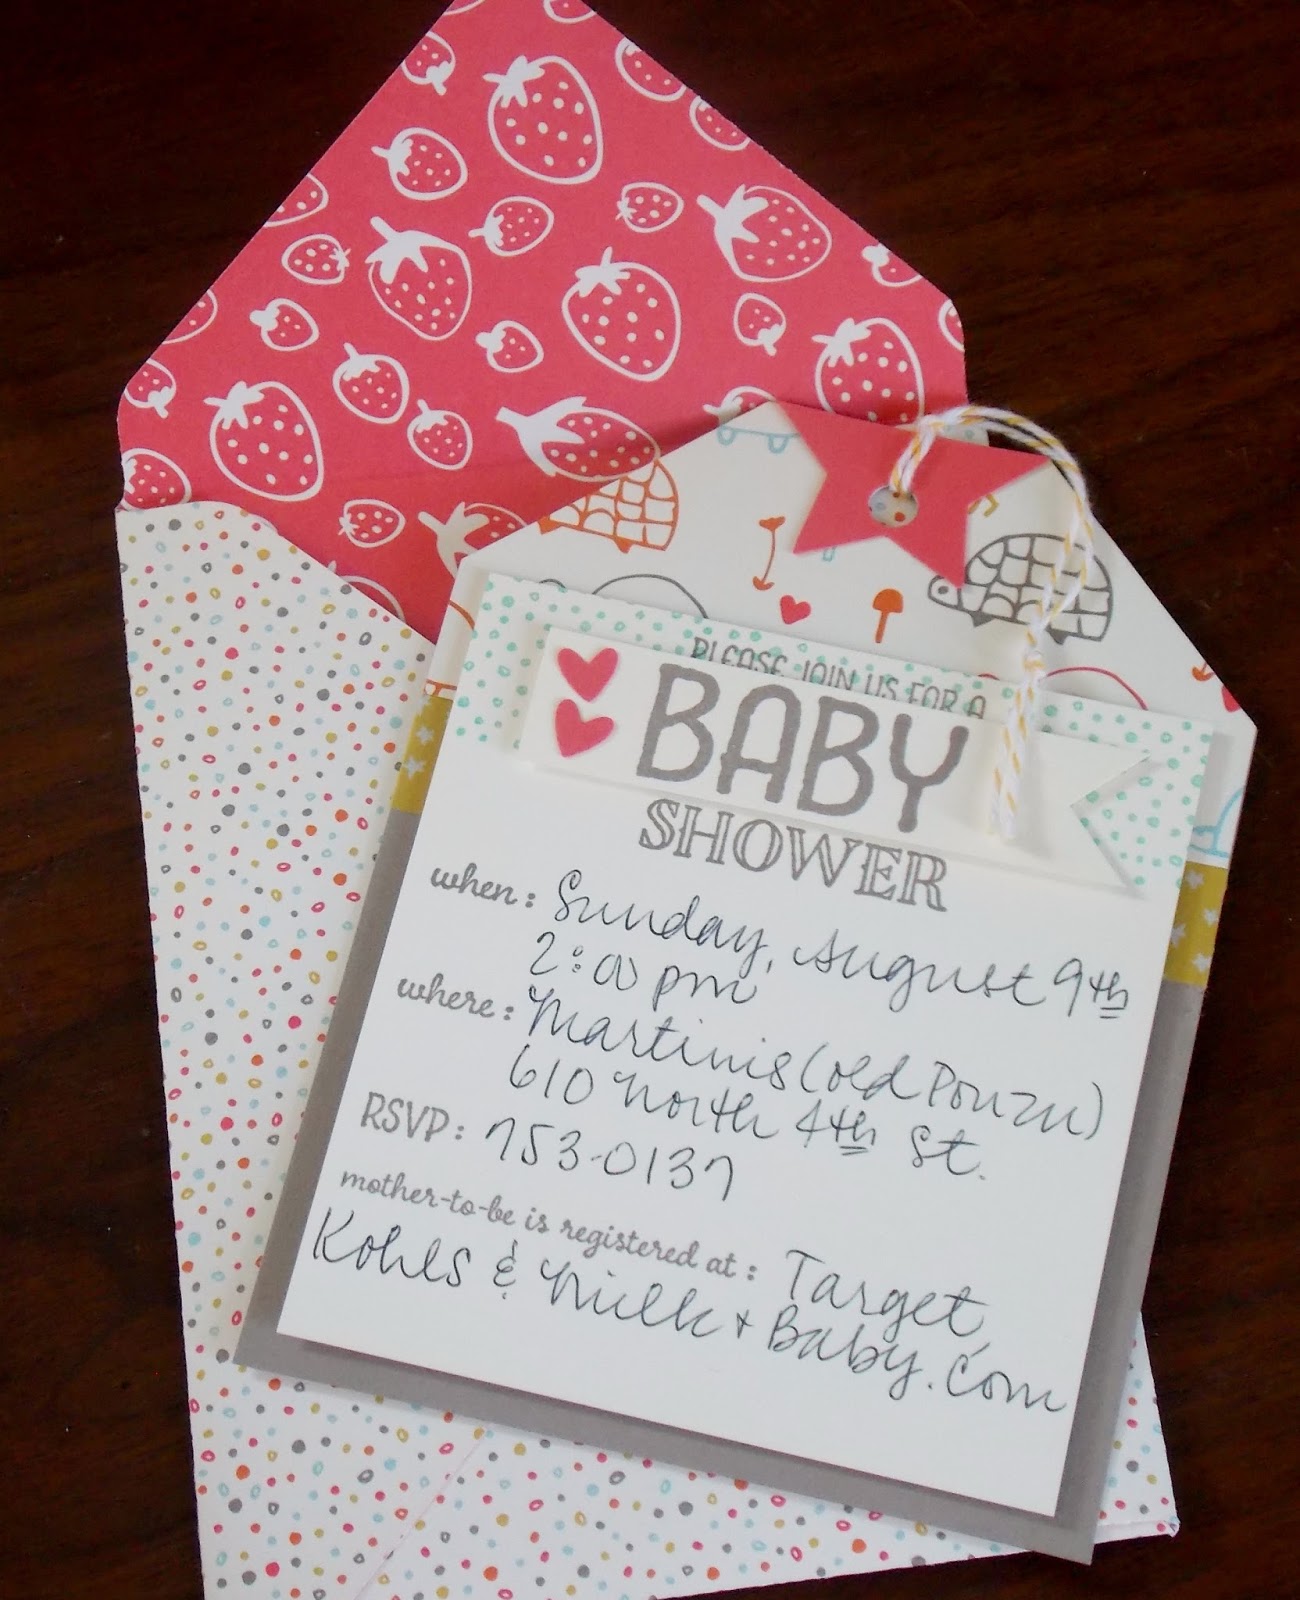
I also wanted to share the shower invitation I'm making. It's pretty much a CASE (Copy And Steal Everything:) from the catalog, but I changed up the colors a bit to make it work for a boy or girl~I can't wait...I'm getting so excited! Quinten is too grown up to give me kisses now, so the new baby will be getting here just in time:)
I used a Tip Top Taupe base and added the adorable Sweet Li'l Things DSP and Washi Tape. I put the Medium Star Punch to work again, this time in Watermelon Wonder Cardstock, and added some Crushed Curry Baker's Twine. The hearts were made using the Owl Builder Punch and the envelope was made using the Envelope Punch Board. I used Tip Tip Taupe ink for the lettering and Pool Party for the background.
And a reminder...I have one of these boxes with your name on it! Just sign up for Paper Pumpkin by tomorrow and one of these is yours:) I hope to be able to give you this fun surprise~a $17.25 value! But I only have a couple left, so act fast! Make sure to stop back tomorrow for some fun gift packaging ideas. Thanks so much for stopping by:)


No comments:
Post a Comment